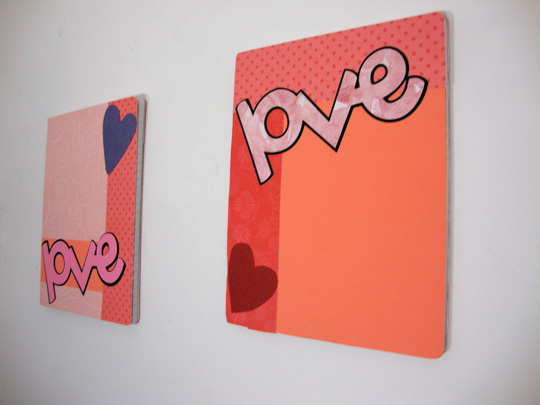
DIY custom notebook covers
Customizing notebooks was one of my favourite things to do growing up. I would take old magazine pages and make collages on all my different books. But now I’m mature and grown up and stuff. So photo collages don’t feel appropriate. The problem is I still want to customize my notebooks, so what do I do?
The good news is I have an answer—scrapbooking to the rescue!
DIY custom notebook covers
I came across this great tutorial and as soon as I saw it I knew I had to do it too.
However. I’m not that “scrapbooky” so the project kind of freaked me out. I took a look around the dollar stores (about six of them) and realized I had no clue what’s OK and what’s not OK to affix to notebooks. And how do you even affix things properly?
So I went to the source: my sister-in-law. She has a knack for this stuff and helped me choose the right notebooks, paper, and tape. Basically it’s all scrapbooking-type stuff.
Here is what you need
- Blank composition books (any old ones you can find will work)
- Double-sided tape
- Scrapbook paper
- Scissors
- Wishblade or stencils (to cut out words/letters) or store-bought stickers, letters, phrases, etc.
- Contact paper
Here is what you do
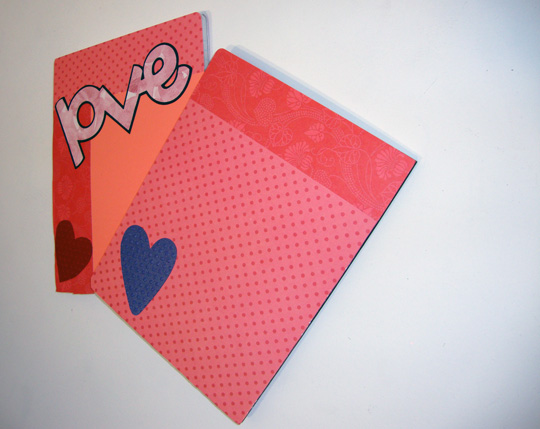
- Take your notebook and affix scrapbook paper in any combination of colours and patterns as you’d like. It helps to lay it out beforehand and then affix so you get exactly what you want
- Add words, names, phrases, etc. on top of your foundation paper as desired (using double-sided tape again…after you’ve done a dry run of course)
- Once you’re finished with your design lay clear contact paper over your notebook. You should cut enough to cover the entire book (front, spine, back). Here’s how: lay the notebook flat and cut a “V” in the contact paper for the binding. Fold the edges over to the other side of the cover to finish
For two covered notebooks here are my costs:
- Notebook: $1.50 each
- Pieces of scrapbook paper: 10¢ each
- Double-sided tape: $3 a roll
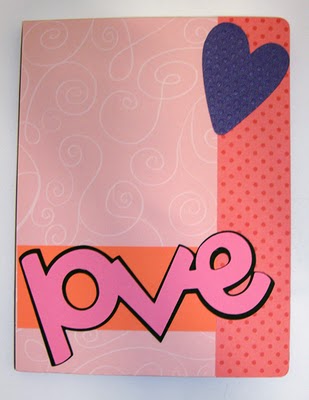
Of course you don’t use an entire roll of tape, so the cost is quite small. And to get the paper for so cheap, you have to buy it at Costco or someplace similar in large quantities. If you want to cut the word “love” out, you’ll need a cutter thingy, which is quite amazing but will run you a few bucks or several. For my project I borrowed this particular cutter.
If you only want to do the odd small project like I did here there is good news. Many scrapbook stores will let you use their equipment if you purchase your paper there. So, you could actually show up at the shop and create your entire project there for a relatively small cost—even if it takes all day!
I should also mention I did an extremely simple project here. I’m not even going to pretend I know what I’m doing. It was trouble enough cutting straight lines (with a cutter) and then getting them on to the notebook.
And yet these notebooks look awesome, so I’m walking proof you don’t have to be good at crafts to make cool DIY custom notebook covers. Have fun!
Robyn Roste
Working full time as a writer, editor and audio broadcast producer should be enough. But instead of resting after a long work day Robyn sets to creating havoc in her space by attempting more DIY, upcycle and knitting projects than she has room for. Her husband is a patient man.